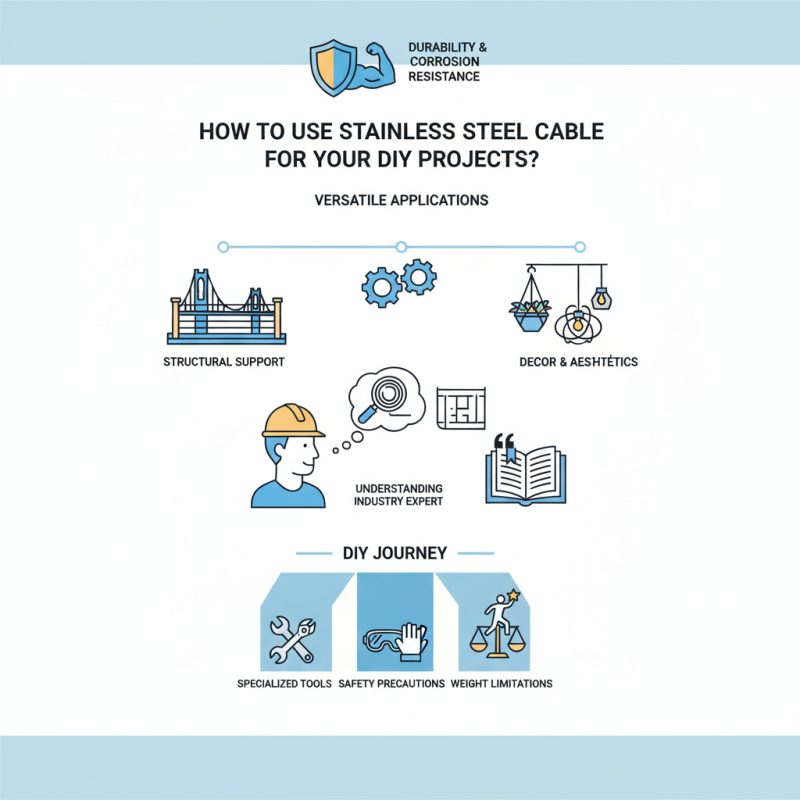
How to Use Stainless Cable for Your DIY Projects?
When embarking on a DIY project, choosing the right materials is crucial. Stainless cable is a versatile option, valued for its durability and resistance to corrosion. According to John Smith, a leading expert in the stainless cable industry, “The right cable can make or break a project.” He emphasizes the importance of understanding its properties before use.
Stainless cable can serve various purposes, from supporting structures to stylish home décor. It’s lightweight yet strong, making it an ideal choice for many applications. Imagine using stainless cable to create a stunning railing that not only adds safety but also enhances aesthetics. However, one can easily overlook critical details like proper installation techniques or weight limitations.
The path to mastering stainless cable can be littered with challenges. Often, DIY enthusiasts may underestimate the need for specialized tools or the importance of safety precautions. Reflecting on these aspects is vital to ensure that your project does not fall short of expectations. With the right knowledge and approach, stainless cable can elevate your DIY projects to new heights.
Understanding Stainless Cable and Its Properties
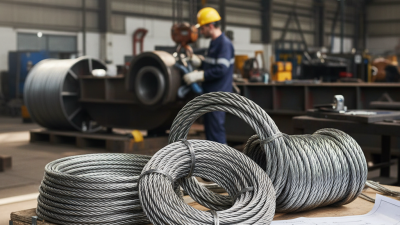
Stainless steel cable is a versatile material widely used in various DIY projects. Its strong resistance to corrosion makes it ideal for outdoor applications. According to a report by the International Journal of Steel Structures, stainless steel cables can offer tensile strengths ranging from 1000 to 3000 MPa. This makes them suitable for tasks requiring substantial weight support.
Understanding the properties of stainless cable is crucial for effective use. The diameter of the cable affects its load capacity. For example, a 1/8-inch stainless steel cable can support up to 1,200 pounds. However, some projects might underestimate this capacity. A miscalculation can lead to dangerous failures. The flexibility of stainless steel also allows for easy manipulation, but it requires careful handling to prevent kinks.
Another aspect to consider is the cable's finish. Polished cables look great but may show scratches easily. Brushed finish cables hide blemishes better but may not be as visually appealing. DIYers often face the challenge of balancing aesthetics and functionality. They must choose wisely to avoid regret later.
Selecting the Right Stainless Cable for Your Project
When selecting the right stainless cable for your DIY project, think about the purpose of your project first.
Consider the weight and tension the cable will endure. For example, a sturdy cable is essential for hanging items or creating tension barriers.
Make sure you know the maximum load your project requires. This will help you choose the right diameter and material grade.
Remember to examine the cable’s resistance to corrosion. Stainless steel comes in different grades.
Some are more resistant than others. If your project is outdoors, you need a cable that can withstand harsh elements.
A lower-grade stainless might rust quickly in humid conditions.
Tips: Look for options with a protective coating. This can extend the cable’s lifespan.
Pay attention to cable specs, such as breaking strength and elongation. Be aware of how you will secure the ends.
Sometimes, basic knots won’t do. Consider using clamps or ferrules for a stronger hold.
Always test your setup before full use. This can save you time later. Improper setup may lead to failure in your project.
Essential Tools for Working with Stainless Cable
When working with stainless cable for DIY projects, having the right tools is crucial. Essential tools include wire cutters, crimping tools, and cable clamps. These tools ensure precision and durability in your projects. According to a report by the International Cable Association, using proper tools increases efficiency by up to 30%. That’s a significant advantage when you want to complete your project on time.
Tips: Always choose high-quality stainless cables. They resist corrosion and last longer. Corroded cables can lead to project failure. Ensure your tools are well-maintained. Dull cutters can damage cables. This can result in uneven cuts or fraying.
Measuring tools are also important. You need accurate measurements for your cable lengths. Mistakes here can lead to waste. In fact, the same industry report highlights that nearly 15% of project delays stem from measurement errors. Investing in a reliable measuring tape can save both time and money. Remember to think ahead about your project’s design before cutting. This helps minimize mistakes and maximizes cable use.
DIY Projects: Essential Tools for Working with Stainless Cable
Step-by-Step Guide to Installing Stainless Cable
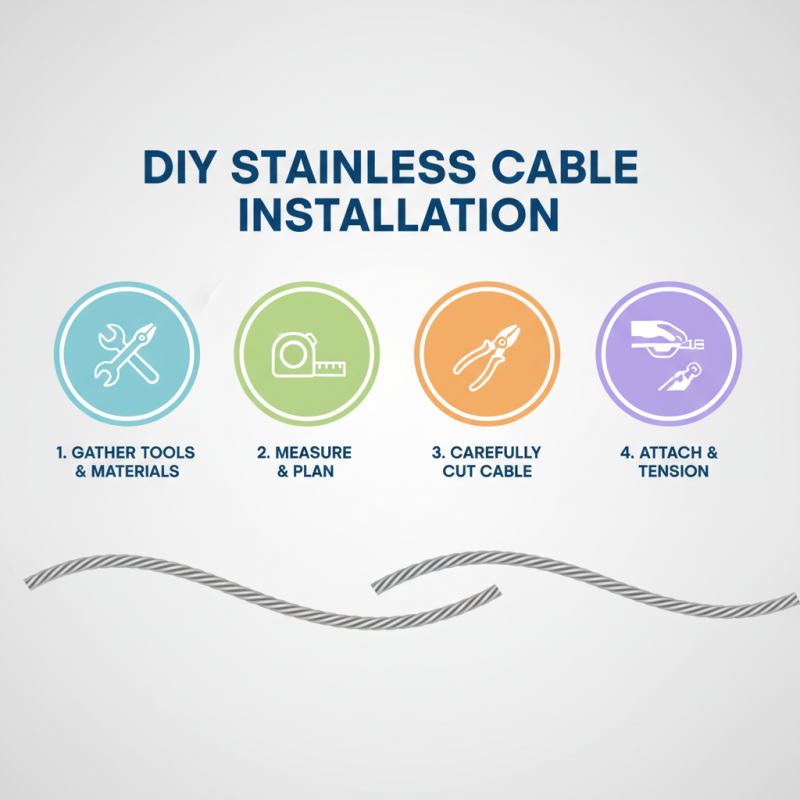
Installing stainless cable for your DIY projects can be straightforward with the right steps. Start by gathering all necessary tools and materials. You need stainless cable, end fittings, tensioning devices, and appropriate tools for cutting and crimping. Measure the space where the cable will go. This will help in determining the length needed. Cut the cable carefully to avoid fraying. It’s easy to mess this part up, so take your time.
Next, prepare the ends of the cable. Use a crimping tool to attach the end fittings securely. Make sure they are tight enough to hold under tension. This part can be tricky. If the fitting is loose, it could lead to accidents later. Be mindful of any sharp edges. Use gloves to protect your hands.
Now it’s time to install the cable. Begin at one end and attach it to the anchor point. Ensure it's aligned and level. Pull the cable to remove any slack. Too much tension can stress the fittings. As you work, double-check each connection for secure anchorage. Mistakes can lead to failure in the final project. Each step requires focus and adjustment. This is where reflection on your work is crucial.
Safety Precautions When Using Stainless Cable in DIY Projects
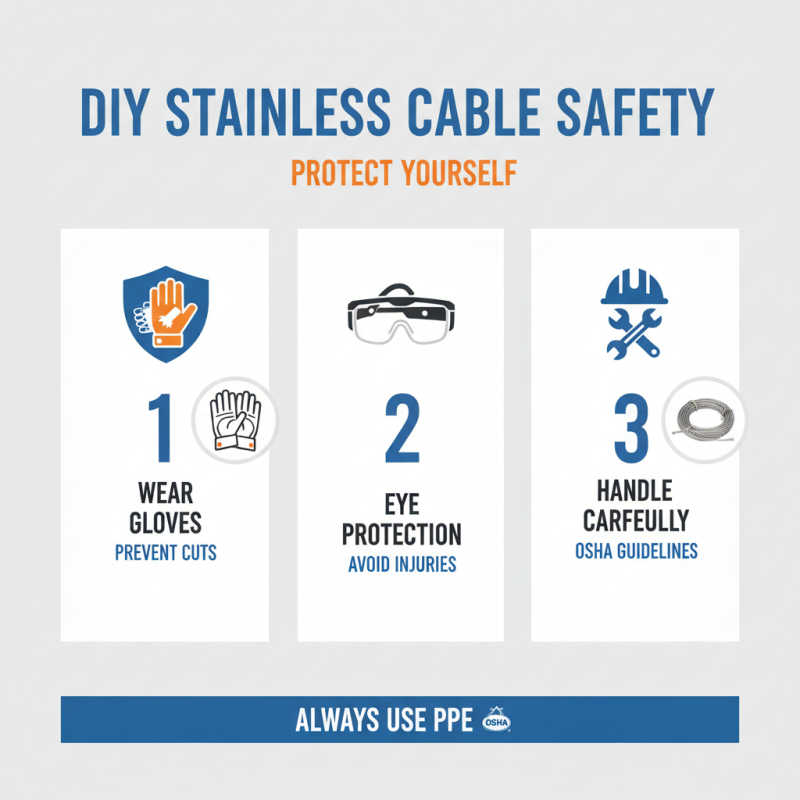
When working with stainless cable in DIY projects, safety should always be a top priority. According to a study by the Occupational Safety and Health Administration (OSHA), improper handling of materials can lead to serious injuries. Always wear appropriate personal protective equipment (PPE), including gloves and safety glasses. These simple items can prevent cuts and eye injuries while you handle sharp cables.
Keep your workspace organized and free of clutter. A chaotic environment increases the risk of accidents. Secure the cable properly before cutting. Ensure that it won’t snap back unexpectedly. The wire can act like a spring, and a sudden release can cause serious harm.
Tips: Before starting your project, review safety guidelines for handling stainless cable. Ensure that the tools and equipment you use are in good condition. Remember, even something as simple as a frayed cable can lead to mishaps.
Furthermore, be mindful of how you dispose of any leftover materials. Dropping sharp pieces can endanger yourself and others. A study indicated that proper disposal can reduce workplace injuries by over 30%. Reflecting on your methods can enhance both safety and efficiency.