10 Tips for Choosing Steel Cable Clamps?

Choosing the right steel cable clamps is a small decision with serious structural consequences. A clamp may look simple, yet its material, saddle shape, bolt size, and finish affect holding strength. In real installations, loose nuts, crushed wire rope, and uneven spacing are common warning signs.

Industry guidance supports careful selection. OSHA 29 CFR 1910.184 emphasizes proper wire-rope termination, inspection, and secure fastening practices. The Wire Rope Technical Information publication from the Wire Rope Technical Board also highlights correct clip orientation, torque control, and repeated inspections. These details matter on construction sites, lifting equipment, marine structures, and industrial cable systems. They are not decorative accessories.

Market research from Grand View Research identifies construction, energy, transportation, and industrial applications as important demand areas for steel wire rope products. However, market growth does not guarantee safe performance. Product quality still depends on engineering, installation, and maintenance. This guide, “10 Tips for Choosing Steel Cable Clamps,” focuses on practical decisions that buyers can verify before ordering. Expect attention to load ratings, corrosion resistance, cable diameter, standards, and supplier documentation.

Small errors become expensive.

A clamp that fits loosely can slip. An over-tightened clamp can damage rope strands. Stainless steel may suit coastal exposure, while galvanized steel may offer a more economical option inland. Still, these choices require context. No single clamp works everywhere. The recommendations ahead are useful, but they should not replace a qualified engineer’s review for critical lifting or life-safety applications. That limitation deserves honest attention.
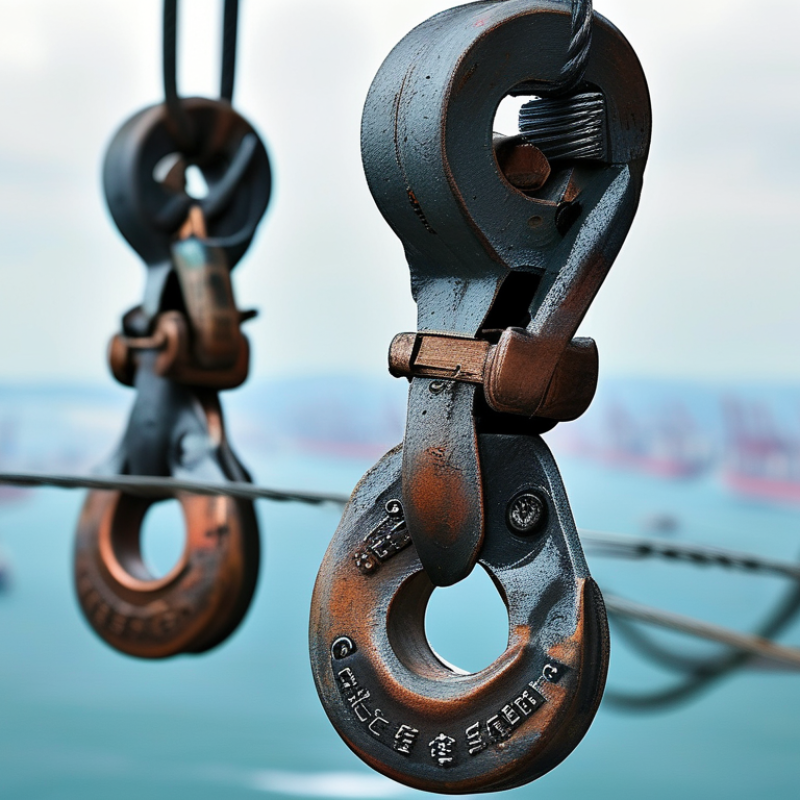
10 Tips for Choosing Steel Cable Clamps?

Define the Cable Type, Size, and Intended Application

Choosing a steel cable clamp starts with identifying the cable itself. Wire rope, electrical cable, and coated control cable require different clamp designs. A wire rope clip grips strands, while a cable cleat controls movement during vibration. Using the wrong type can flatten insulation or damage rope strands. It may look secure. It may not.

Measure the cable’s actual diameter, including any coating. Do not rely only on a nominal label. A clamp that is too small can crush the cable. One that is too large may slip under tension. Check the cable construction, flexibility, and load direction before selecting the clamp. In field inspections, this simple measurement is often missed. I have seen clamps fit visually but fail after repeated movement.

The intended application determines the remaining details. Indoor static support needs differ from outdoor lifting or vibrating machinery. Consider working load, shock loading, temperature, moisture, salt exposure, and installation space. Stainless steel may suit corrosive areas, while galvanized steel may fit controlled environments. Check the manufacturer’s load data and installation torque, then inspect the first assembly carefully. Keep the cable’s bend radius intact. Tightening harder is not always safer. A qualified technician should review critical lifting or load-bearing installations, especially when failure could injure people or damage equipment.
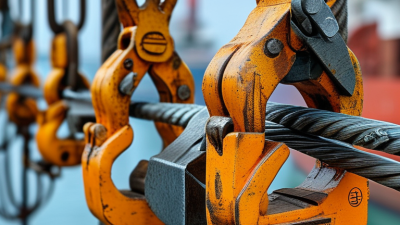
Choose the Right Clamp Material and Protective Finish

Choosing a steel cable clamp starts with the environment, not the price. Indoor, dry installations often suit zinc-plated steel. Zinc offers practical corrosion resistance and keeps the clamp affordable. However, it can deteriorate near salt spray, condensation, or chemical vapors. Stainless steel is safer for marine areas, food-processing rooms, and outdoor equipment. It costs more, but replacement work costs more.

Check the cable diameter carefully. A clamp that squeezes the cable can damage its outer jacket. A loose clamp may allow movement, vibration, or abrasion. I once found a slightly oversized clamp on a vibrating machine. The cable looked acceptable, but its coating had started rubbing thin. Measure the actual cable, including insulation. Small differences matter.

The protective finish should match the exposure. Hot-dip galvanizing provides a thicker barrier than light electroplating. Powder coating adds another protective layer and improves visibility during inspection. Plastic-lined clamps can reduce scratching, especially around painted cables. Still, coatings can crack during tightening. Avoid overtightening, and inspect cut edges after installation. Use corrosion-resistant fasteners with stainless clamps. Mixed metals can create galvanic corrosion in damp conditions. This detail is easy to miss. Also consider temperature changes, cleaning chemicals, and ultraviolet exposure. A clamp may look strong in storage but fail early outdoors. Check load ratings, installation guidance, and applicable safety standards before approval. If the site conditions are uncertain, testing one installed clamp can reveal more than assumptions.

Check Clamp Design, Load Capacity, and Safety Standards

Choosing steel cable clamps begins with the clamp design. Check whether the saddle fits the cable diameter without crushing the strands. A loose fit can allow movement. A tight fit can damage the wire.

Match the clamp material to the working environment. Galvanized steel suits many indoor and outdoor applications, while harsher locations may require stronger corrosion protection. Confirm the working load limit, not only the breaking strength. Allow for shock loads, vibration, bending, and uneven loading. Review the manufacturer’s test data and installation torque. Never guess the torque.

Read the applicable safety standards. Look for clear markings, traceable inspection records, and documented proof testing. Confirm the standard applies to your lifting or fastening application. Check the number of clamps, spacing, and cable tail length required by the instructions. Use a torque wrench when possible. It feels excessive, but hand-tightening is unreliable.

Inspect threads, nuts, saddles, and cable strands before use. Replace damaged parts immediately. After loading, recheck the nuts because seating can reduce clamping force. I have seen an apparently secure connection loosen after vibration. That mistake was preventable. Keep inspection records, including the installation date, load conditions, and observed wear. A qualified person should review unusual loads or critical connections.

Plan Correct Spacing, Orientation, and Installation Method

10 Tips for Choosing Steel Cable Clamps

Steel cable clamps work best when spacing, orientation, and installation match the cable’s load. Tip 1: Measure the cable diameter with a caliper, not by eye. Tip 2: Select clamps designed for that exact cable size. Tip 3: Use enough clamps for the connection and keep their spacing even. A crowded layout can damage strands. Tip 4: Leave a short tail beyond the final clamp for inspection. Tip 5: Place the saddle on the loaded cable side and the U-bolt on the dead end. This orientation matters. Tip 6: Keep every clamp aligned with the cable, not angled across it.

Tip 7: Tighten each nut gradually, moving between clamps to maintain balanced pressure. Tip 8: Use a torque wrench when the installation guide provides a torque value. Guessing feels efficient, but it is unreliable. Tip 9: Check that the cable remains smooth after tightening. Flattened strands, sharp bends, or crushed sections signal trouble. Tip 10: Reinspect the connection after the first load cycle, then at regular intervals. Vibration can loosen hardware.

In practical installations, I have seen spacing fail because the cable was measured before tension changed its shape. Measure again after positioning. Also inspect for rust, damaged threads, and water trapped between parts. A galvanized clamp may suit ordinary outdoor exposure, while harsher environments require carefully selected corrosion resistance. The exact choice depends on cable construction, load, temperature, and surrounding conditions. Manufacturer guidance should control the final installation. Research the details.

10 Tips for Choosing Steel Cable Clamps: Plan Correct Spacing, Orientation, and Installation Method

The chart shows the minimum number of wire-rope clips specified by OSHA for common rope-diameter ranges. Use the correct clamp size, place the saddle on the live end, position the U-bolt on the dead end, and follow the clamp manufacturer's torque requirements.

Reference: OSHA 29 CFR 1910.184, Table V-1. In practice, verify spacing, torque, rope compatibility, and inspection requirements against the applicable standard and manufacturer instructions.

Inspect, Maintain, and Replace Clamps for Long-Term Reliability

10 Tips for Choosing Steel Cable Clamps?

Reliable cable clamps begin with correct selection, not last-minute tightening. Match the clamp to cable diameter, construction, and working load. Choose compatible materials to reduce galvanic corrosion. Use the recommended number of clamps and spacing. Never mix clamp styles casually. Check the manufacturer’s torque value, thread condition, and saddle orientation. A misplaced saddle can weaken the connection. Small details matter.

Inspect every clamp before installation. Look for cracked metal, stretched threads, bent saddles, rust pockets, and cable slippage. OSHA 1910.184(d) requires daily inspection of lifting slings before use, while ASME B30.9-2023 provides similar inspection guidance. These rules do not make every clamp safe automatically. They create a disciplined baseline. Record inspection dates, torque readings, load changes, and exposed environments. Keep the records searchable.

Maintain clamps after vibration, overload, impact, or severe weather. Wipe away salt, dust, and oil before checking contact surfaces. Retighten only when the approved procedure allows it. Replace clamps showing deformation, deep corrosion, thread damage, or repeated movement. Replace the cable too when crushed strands appear. A checklist is not magic. Field conditions can be missed. Recheck the first installed clamp after loading, because early movement often reveals poor seating.